Getting Started
Overview
Our development experience has helped us to learn certain pointers which, we believe are useful for any developer, particularly trying to solve the complex governance problems.
Open source technologies are usually the best approach for going around any problem, given the support you can achieve in terms of roadblocks you might encounter while development, augmented by the inputs that you could further disseminate from your app development journey. Hence, Collaborative Learning is a key to a better plan of software development.
We realised that even if different problem statements come into picture, the approach towards the development of technological solutions follow certain basic similar features, for instance - access and authentication of users, remote configurations, data collection and sending them to backend for aggregation, remote app monitoring etc.
This brings to one of the most crucial conclusions, it is always pragmatic to develop the app, as a conglomerate of different separate and independent modules, pointing to different features, which can be attached together with the main app module to develop a modular app with the least amount of effort. These modules are developed to be completely independent functionality packages.
Tip
This document is based on the summation of these learnings. We have developed this documentation with a desired objective to help any fellow developer with/without sufficient Android App development knowledge, to couple together these smaller together these packages to develop a full fledged deployable app, particularly pertaining to governance related domains. Though we have tried to remain as generic as possible to give support for any developer to follow these mini tutorials to develop a runnable app.
The techniques you’ll learn in the document are fundamental to building any Android app, and mastering it will give you a deep understanding of Android App development.
Prerequisites
- We’ll assume that you have some familiarity with Android App development, but you should be able to follow along even if you’re coming from a different programming language. '
- We’ll also assume that you’re familiar with programming concepts like functions, objects, arrays, and to a lesser extent, classes, and basic OOP concepts and principles.
What to expect from the tutorial
If you will following along this thing ( and it could take some time), you would be able to
- Build and share an android app with your friends.
- Get a good understanding of what all the components do.
- Make a sense of how they play along with each other.
What we are providing in excess of the tutorial if you get stuck.
- Link to the code repository containing (codes for different modules, a coupled together app and a starter app).
- Link to executable file for the same.
- Attached video link for full-fledged application.
Getting familiar with the basics
- The Android app to be developed along the lines of this document is a modular app, developed with different modules, with a main module and different child modules attached to it.
- In order to start up with the development, we would like to recommend giving a read through the basic tutorial on how to build and run a basic android app via this link.
- Note: In all the modules, you would come across a commons module. This module contains common functionalities that can be used by all the modules rather than duplicating the code along the modules.
Setting up Samagra Android Starter App
This is the base project that we use to start all our projects as it includes all the basic wiring among all the components and provides a speedy development process.
- Download and instal Git and add it to your PATH
- Download and install Android Studio
- Fork the collect project (why and how to fork)
- Clone your fork of the project locally. At the command line:
- Use Android Studio to import the project from its Gradle settings. To run the project, click on the green arrow at the top of the screen.
- Setup the project on Android Studio. This is a good starting resouce on how to do this.
- Connect you phone or emulator and install the app. If you have followed along with the above three steps you should see the following screen,
Configuring Home Screen
As you will install and run the app, you will see that the home screen icons, when clicked just show a snackbar. This is intended to just show the functionality of MVP design pattern, where click action is listened to by the View and then the action is handled by the Presenter.
You can configure the home screen to redirect the user to the modules which will be discussed ahead. This is where most of your time would be spend when building your own app.
Event Configuring - What it’s all about
Event bus is a great solution that allows objects with different lifecycles and located in different layers of hierarchy to communicate. We suggest that if you have an event bus in your Android application, most likely you use libraries like Otto or EventBus.
For more details on how to set up your own RxBus, and how to use it further, please refer to the this doc.
Ancillary Screen Module
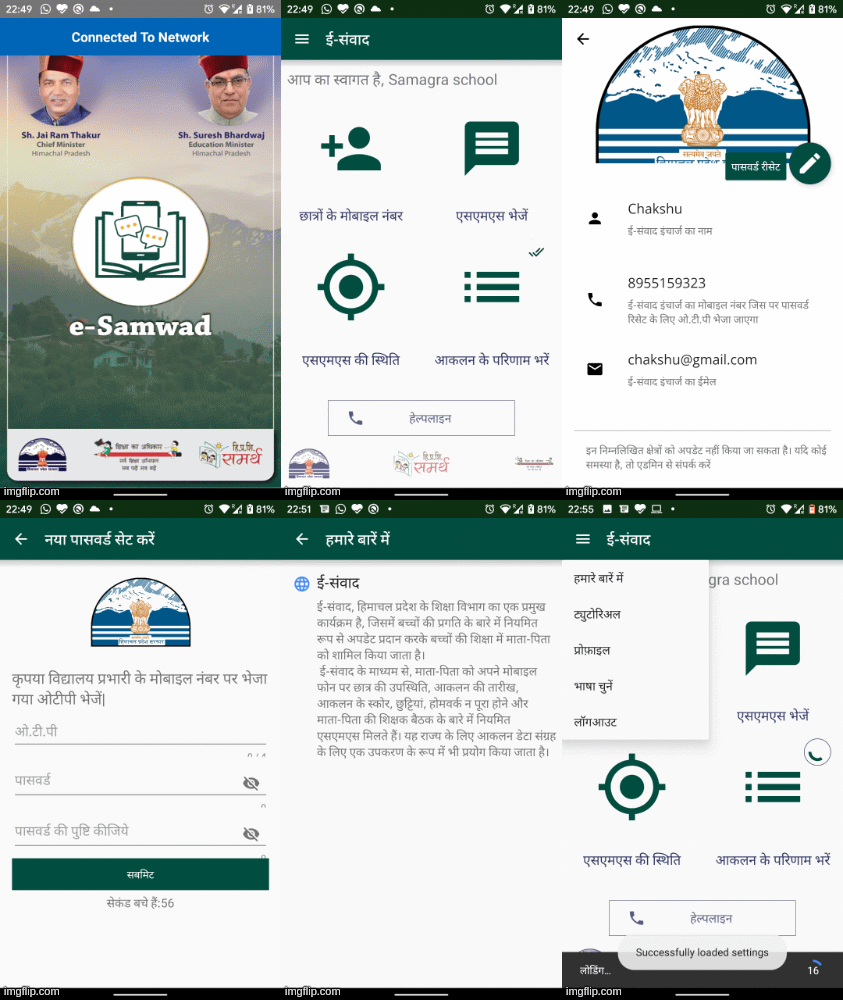
For any android app, it becomes imperative, as the usage increases and the features enhance, it is needed to provide an access control to the app. Hence, we developed a module, with certain UI modules which can be easily integrated with your app, to provide basic features which are to be generally present in almost every android application, which are Splash scree, Login Screen, Forgot Password and Reset password via OTP.
1. Screens Included in the Ancillary Screens Module
- Splash Screen - User sees this activity in the fist time when app is launched.
- Login Screen - User can login via user id and password, we are using FusionAuth for the management and authentication of users.
- About Us Screen - Ability to confiure the title, icon and the description text of the About Us Screen
- Reset Password - User can reset the app password from the Login screen via OTP sent to his registered Mobile number
- Tutorials Screen - In order to guide the app user about the flow of app via Youtube video, you can configure those videos inside these screens by passing in your Youtube API Key and Video ID. You can also remotely configure the video IDs.
2. Integrating Module into your Project
Note: For more clarity on files affected, please refer this commit.
- If you have not customworkmanager/commons module in the project, you would need to integrate these first sequentially, to integrate the ancillaryscreens module later, using the following steps.
- Import the library module to your project (the library source becomes part of your project). Click File > New > Import Module
- Select the source directory of the Module you want to import and click Finish. The library module is copied to your project, so you can actually edit the library code.
- Open your build.gradle file and check that the module is now listed under dependencies.
- Sync your gradle. Clean your project.
- Please follow the same steps for the integration of ancillaryscreens module.
- Make sure the library is listed at the top of your settings.gradle file, as shown here for a library named ':ancillaryscreens'. This means for other modules included as well.
- Open the app module's build.gradle file and add a new line to the dependencies block as shown in the following snippet:
3. Initialization and Usage of Ancillary Screens Module
Inside onCreate of Application class or Launcher Activity (Please refer the MyApplication) for the same), in the manner as follows,
4. Using this module
We will just be showing how to add Splash Screen to the app. For more details on how to add other screen please go here.
- In order to make Splash Screen the launcher activity for your application, please add the following statement in the AndroidManifest.xml file of this module, if not present
After you have integerated this module into your application, your application should look something like as follows:

Form Management Module
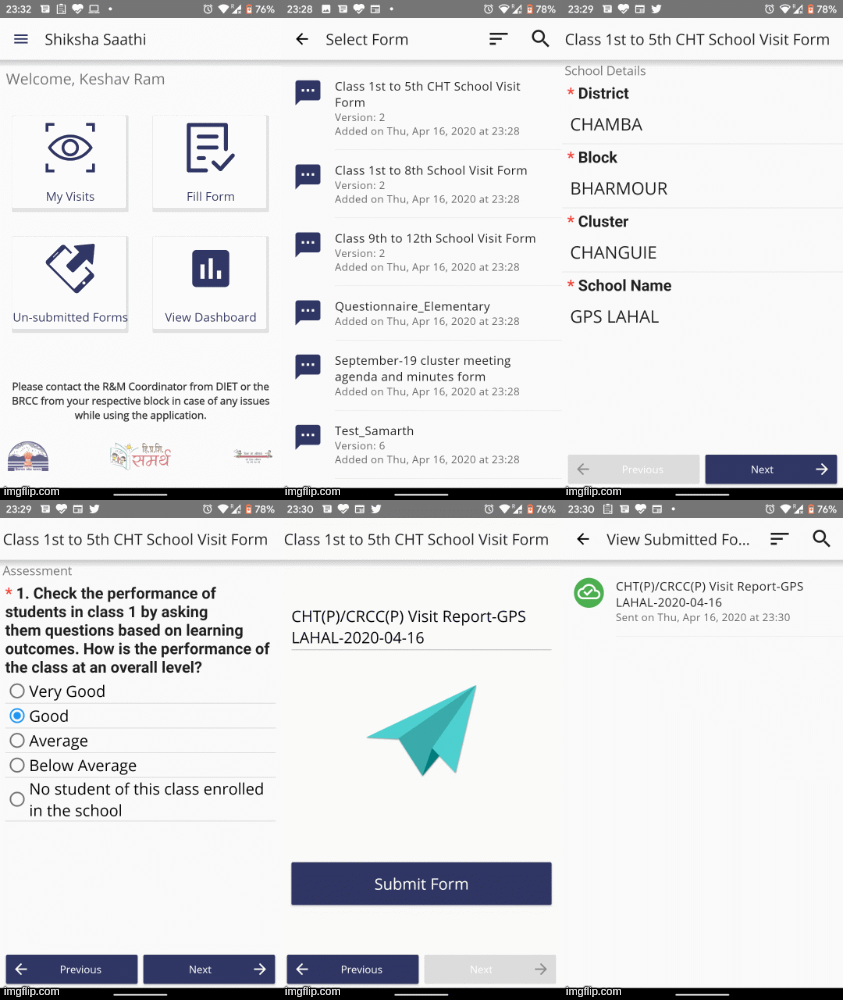
Form Managment Module is designed to handle data collection via forms, downloaidng and managing them, taking submissions even in offline environments. To check on the responsibilites and functions in detai, please refer this section.
What is ODK? How to use ODK? Creating a Form in ODK?
This is a pre-requisite to send ODK Forms from your device, in terms of collecting submitted data on the backend. Please ensure you have set up the ODK Aggregate before proceeding with Form Module integration in your app. Please refer to this document to find basics for ODK, and how to set a form on ODK Central. Documentation of ODK..
1. Setting up Form Management Module
Note: For more clarity on files affected, please refer this commit. This is link to the module code.
1. Please refer to the link to set up ODK into your mobile Application. (For more details on what are the changes)
2. Set up config folder, settings.json as mentioned in the link above.
3. Add required permissions in your AndroidManifest.xml (READ_EXTERNAL_STORAGE, WRITE_EXTERNAL_STORAGE)
4. Initialise Collect Module From your Application Class. Please note that in order to make the modules work properly.
please call this method in your Application class's onCreate() method. Please refer MyApplication.java for the same.
- Please add permissions request as added in SplashPresenter.java, without these permissions, you won't be able to download the forms.
- Initialise the Form Module in your application level as follows: (Please refer MyAppication Class of the downloaded project).
- To download the form list and see which forms to download, please refer HomePresenter class, we are using Remote Config, in order to test, you can provide them through a JSON object similar to this one.
- You will have to add these forms to your ODK Central first, please use the link-1 and link-2 to download these forms.
- After these steps, when you run the app, you will be abe to download these forms.
2. Showing a List of forms to choose from
If you want the user at his own prerogative select which form to open, use the following invocation.
Here, getIFormManagementContract() returns the value of the contract object for the Form Module. context is the Context object of the View(Please refer the HomePresenter class to see functioning of this method), from where you have triggered this click action.
3. Filling up a particular form
If you want to fill a particular form, out of the forms downloaded above, in the click action of the view, please invoke the following method of the module. Please check onFillFormsOptionClicked() method in HomePresenter.java to see how we're opening a specific form based on its identifier.
Here, getIFormManagementContract() returns the value of the contract object for the Form Module. formIdentifier is to be replaced by the name of the specific form you want to be filled by the user.
4. Submitting a form
Please follow the user flow of the form, as you move towards the end you will see a Save Form and Exit option, clicking on this CTA, will make a submission and you will be redirected back to home screen.
5. Seeing submissions
If you want to view the forms that the user has submitted already, use the following method invocation. You can also check onViewSubmittedFormsOptionsClicked() method in HomePresenter.java to see how we're opening a specific form based on its identifier.
6. Offline viewing of data and sending them again
Since ODK provides a functionality to fill forms offline, you can sync these forms when online again. You can view all such forms via below method invocation. You can also check onSubmitFormsClicked() method in HomePresenter.java to see how we're opening a specific form based on its identifier.
Here, getIFormManagementContract() returns the value of the contract object for the Form Module. context is the Context object of the view(activity) from where you have triggered this click action. className is the lexographic name of the given class, the name by which you have saved the class in the project.
7. Prefilling form
Sometimes you would like your forms to be prefilled with data. This is outside the scope of this tutorial but if you want to it, take a look here, on how you can achieve that.
Once you have achieved this milestone, the UI should look like this. 
8. Resetting the forms/Data
If you are downloading the ODK Forms everytime with your session, we recommend to invoke this method when you launch your app, after settings have been applied. Use the following method:
This will delete a) Saved forms (instances folder, instances database); b) Blank forms (forms folder, forms database, itemsets database); c) Form load cache (.cache folder)
In case you just want the blank forms to be removed, use the following method invocation.
In case, a new user logs in and you want to ODK Preference data to be removed as well, use this method invocation:
For more details, please refer this link
User Profile Module
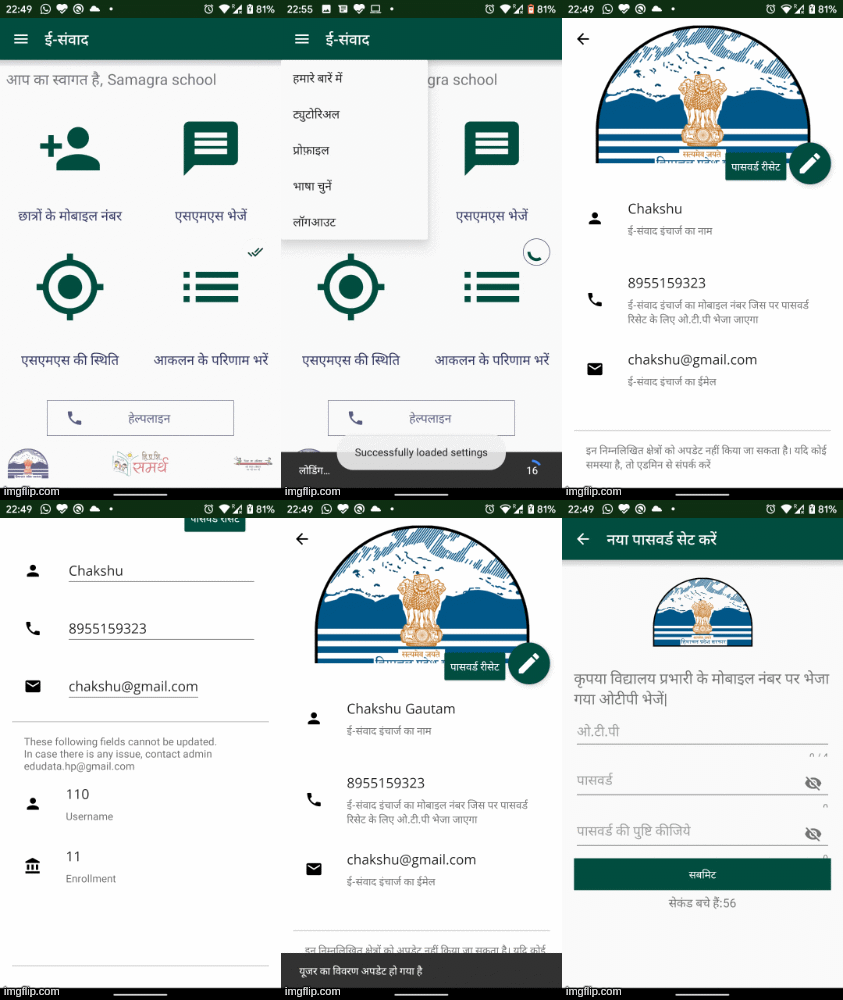
For any app, at a user’s level, it is essential to provide the user with an option to control the user’s profiles in terms of editing his/her basic contact details (Contact and email). These details can be leveraged by the back-end to send personalized messages/emails/notifications. At a user’s level, the contact number can be used by the user to reset his/her password.
1. Overview
The module is developed to provide a basic profile screen to the user, though it can be extented to add other things. For a full details of the capabilities of this module please check this section.
2. Integrating the module into the Mobile Application
Note: For more clarity on files affected, please refer this commit.
- If you have not customworkmanager/commons module in the project, you would need to integrate these first sequentially, to integrate the user-profile module later, using the following steps.
- Import the library module to your project (the library source becomes part of your project). Click File > New > Import Module
- Select the source directory of the Module you want to import and click Finish. The library module is copied to your project, so you can actually edit the library code.
- Open your build.gradle file and check that the module is now listed under dependencies.
- Sync your gradle. Clean your project.
- Please follow the same steps for the integration of user-profile module.
- Make sure the library is listed at the top of your settings.gradle file, as shown here for a library named ':user-profile'. This means for other modules included as well.
- Open the app module's build.gradle file and add a new line to the dependencies block as shown in the following snippet:
3. Initialization
- Inside
onCreateof Application class or Launcher Activity, in the manner, as follows. Please refer HomeActivity.java class to see invocation.
- Wherever you want to launch the Profile Section, use the following code piece. Please see HomeActivity for the usage.
4. Setting Up Firebase for Android Project and Consuming it on Client End
- First of all, for setting up Remote Config for Firebase, you need to setup Firebase for your Android Application Project. The tutorial for setting up Firebase for Android can be accessed via the link, Adding Firebase to your Android Project.
- Configure Remote Config for your Android App after the above step is successfully completed, accessible via the link, Getting started with Firebase Remote Config on Android.
- Go to Google Firebase Console, navigate to your project view. In your project view, launch the Remote Config View by clicking on the Remote Config tab.
- In the Remote Config window, Click on Add Parameter option. Add the profile config parameters as mentioned ahead.
- Add the key and value in the format mentioned ahead, with key : "profile_config"value : [see sample here](https://samagra-development.github.io/docs/docs/AndroidProfileManagementModule#23-setup-firebase-for-android-project--client-end-consumption)
- You can retrieve the above set values at the client end using the following code snippet. Please refer HomePresenter.java to see how the data is being received from FirebaseRemoteConfig and being handled at client-end.
- Map the values corresponding to these content fields, as per your app’s scenario. You could fetch and store these values in the SharedPreerences or in local DB, after receiving User Info from App Login Response or from particular User Data API.
5. Your Profile screen is ready
Try to edit the details of the user and if you want to remove/add a field, just update the firebase config. 
Cascading Search Module
One of the most recurring cases, that we came across while developing apps, was sets vs subsets of data, which refers to that the data collection is based on certain user fields which go on dividing into subsets, for instance - District -> Tehsil -> Block -> Town -> Post Office. Sometimes the list, of the super set or rather consider the heaviness of list for Post offices under a state like Uttar Pradesh. So in order to provide a better user experience, we decided to use fuzzy search to filter out the data as the user keeps going from a higher level to lower level of demarcation. You can, as a developer modify this module as per your requirement, and extend it to n number of levels, if you would require so.
1. Overview
In order to understand the functioning of the module, we will help you set up a sample module that you can use to integrate into your app. We use Firebase Remote Storage to get the required mapping file, which is required by the user to fill forms etc. The file is stored in the res/raw folder in a gzip format, to occupy less space.
In order to remotely change this file, we have also included a provision via FirebaseRemoteConfig to download this file and then replace the pre existing gzip file.
We also have a module included in our commons module to unzip the mentioned file in local device storage which can be further read and filtered out as per the user's requirements. You can receive the results of the Cascading Module and then use further.
Setting up Module into your Project
Note: For more clarity on files affected, please refer this commit.
- If you have not customworkmanager/commons module in the project, you would need to integrate these first sequentially, to integrate the cascading_module module later, using the following steps.
- Import the library module to your project (the library source becomes part of your project). Click File > New > Import Module
- Select the source directory of the Module you want to import and click Finish. The library module is copied to your project, so you can actually edit the library code.
- Open your build.gradle file and check that the module is now listed under dependencies.
- Sync your gradle. Clean your project.
- Please follow the same steps for the integration of cascading_module module.
- Make sure the library is listed at the top of your settings.gradle file, as shown here for a library named ':cascading_module'. This means for other modules included as well.
- Open the app module's build.gradle file and add a new line to the dependencies block as shown in the following snippet:
Using the functionalities to run the Module
- You need to have Storage Permissions to unzip the file and store it in local storage. For this add to the AndroidManifest.xml
- Add the following code snippet to get user's consent to storage permission
- In order to unzip the locally stored file, we will use this following function. (Please refer SplashPresenter.java for the same)
- In order to use this module, attact the module from the Main app module using the following code snippet. (Please check HomeActivity for the same)
- You can launch the cascading view using the following method invocation. (Please check HomeActivity for the same)
Receiving back the Result of the Cascading Module
The result is send back to the main app module by the CascadingModuleDriver, via the RxBus.
The result object contains in form of object, the values of all the levels from selected options in the module. Please refer the setDisposable() method of _HomeActivity, to see how result is received back from the Cascading module. Please check onFillFormsOptionClicked() method of HomePresenter class to launch of form view after receiving results from Cascading Search Module.
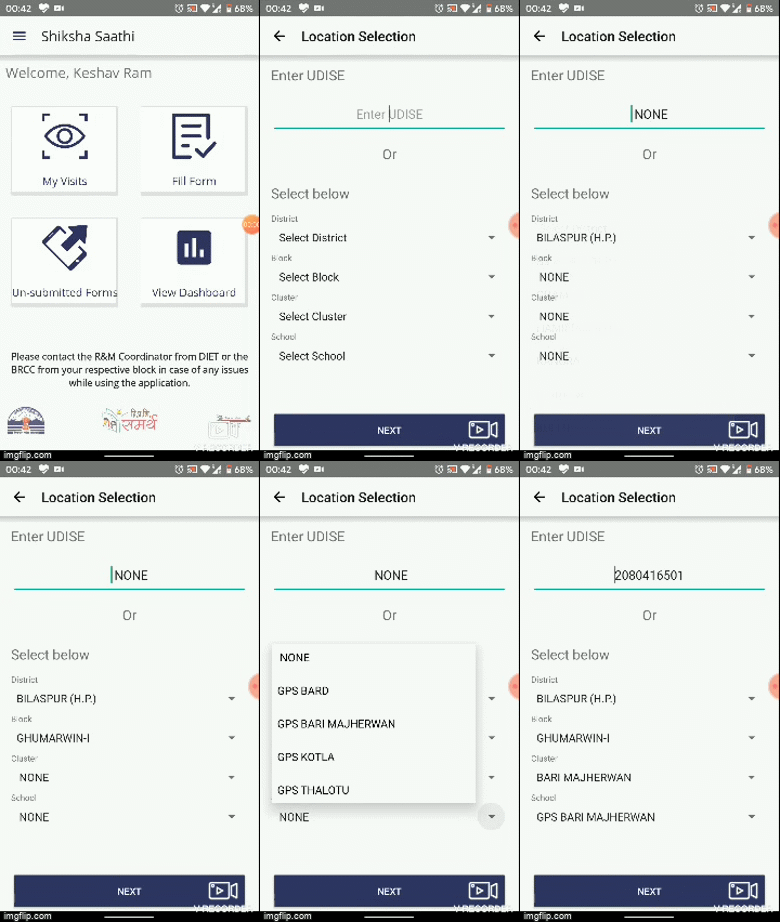
Please see the following clip to see how this module is expected to work.

Push Notifications Module
Overview
For an app, the most effective way to receive push notifications is via Firebase Cloud Messaging Service. Firebase Cloud Messaging (FCM) is a cross-platform messaging solution that lets you reliably send messages at no cost. Using FCM, you can notify a client app that new email or other data is available to sync. You can send notification messages to drive user re-engagement and retention.
The module that we have developed, contains a functionality to generate notifications received via FCM and also generate push notifications from within the app.
Setting up and Using features of Notification Module
In order to integrate the module into your mobile ap project, please refer to this detailed step-by-step tutorial on setting up push notification feature in your mobile app.
App Logging Module
This module involves a supreme use case for the developers, as it includes the facility to send app loga remotely to server, include crashlytics into your app and receive email updates for the same.
Integration and Usage of the Logging Module
In order to integrate the module into your mobile ap project, please refer to this detailed step-by-step tutorial on integratng crashlytics and error recording facility in your app.
Offline Loading Module
In order to make app to mitigate various network related scenarios, it is always better to tackle with defence case scenarios. Hence, in order to provide the user with seamless app performance and avoid breakage of user data being sent to the backend, we developed a module leveraging the usage of Work Manager's Work Requests to tackle the user actions which couldn't be completed due to certain constraints.
Integration and Usage of the Logging Module
The detailed integration of module and its usage is elaborated in this section.